Push Notifications
Push notifications allows users to receive chat messages when they are offline.
The ChatCamp iOS SDK receives push events from ChatCamp APNS (Apple Push Notification Server).
Follow these 4 steps to turn on the push notifications for iOS.
- Create a Certificate Signing Request(CSR).
- Create a Push Notification SSL certificate in Apple Developer site.
- Export a p12 file and upload it to ChatCamp Dashboard.
- Register a device token in ChatCamp iOS SDK.
1. Create a Certificate Signing Request (CSR)
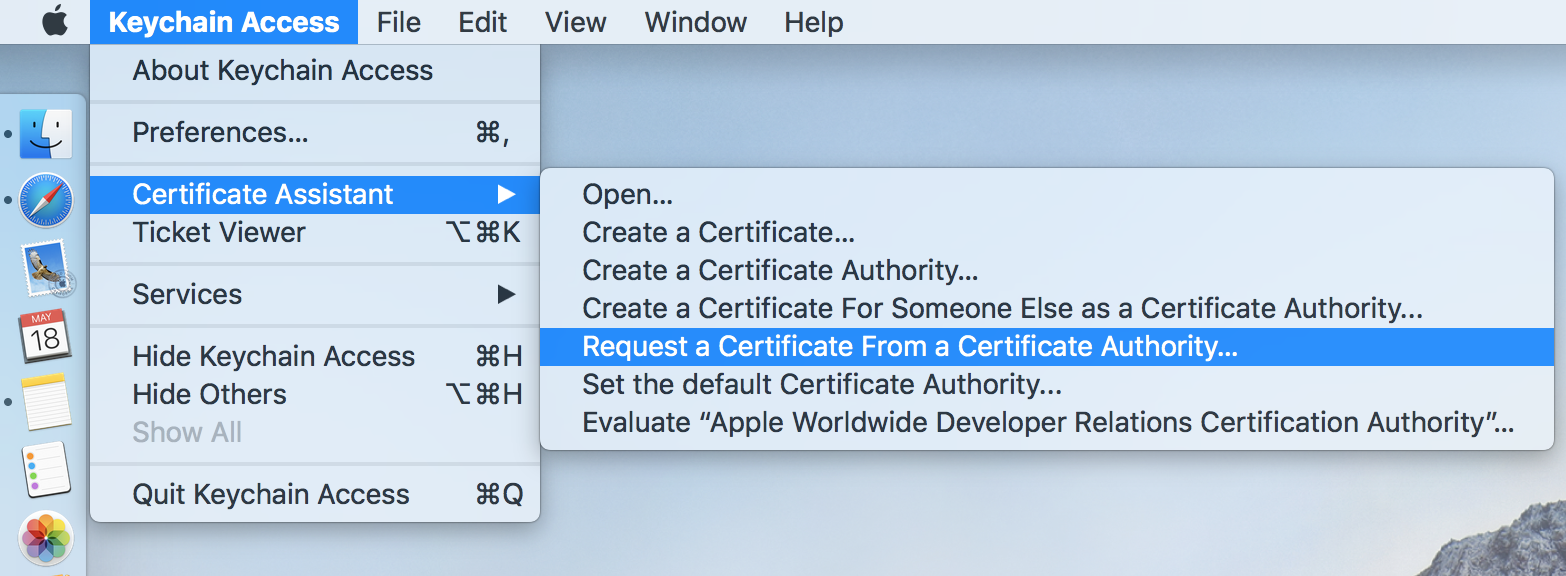
Open Keychain Access on your Mac (Applications -> Utilities -> Keychain Access). Select Request a Certificate From a Certificate Authority.
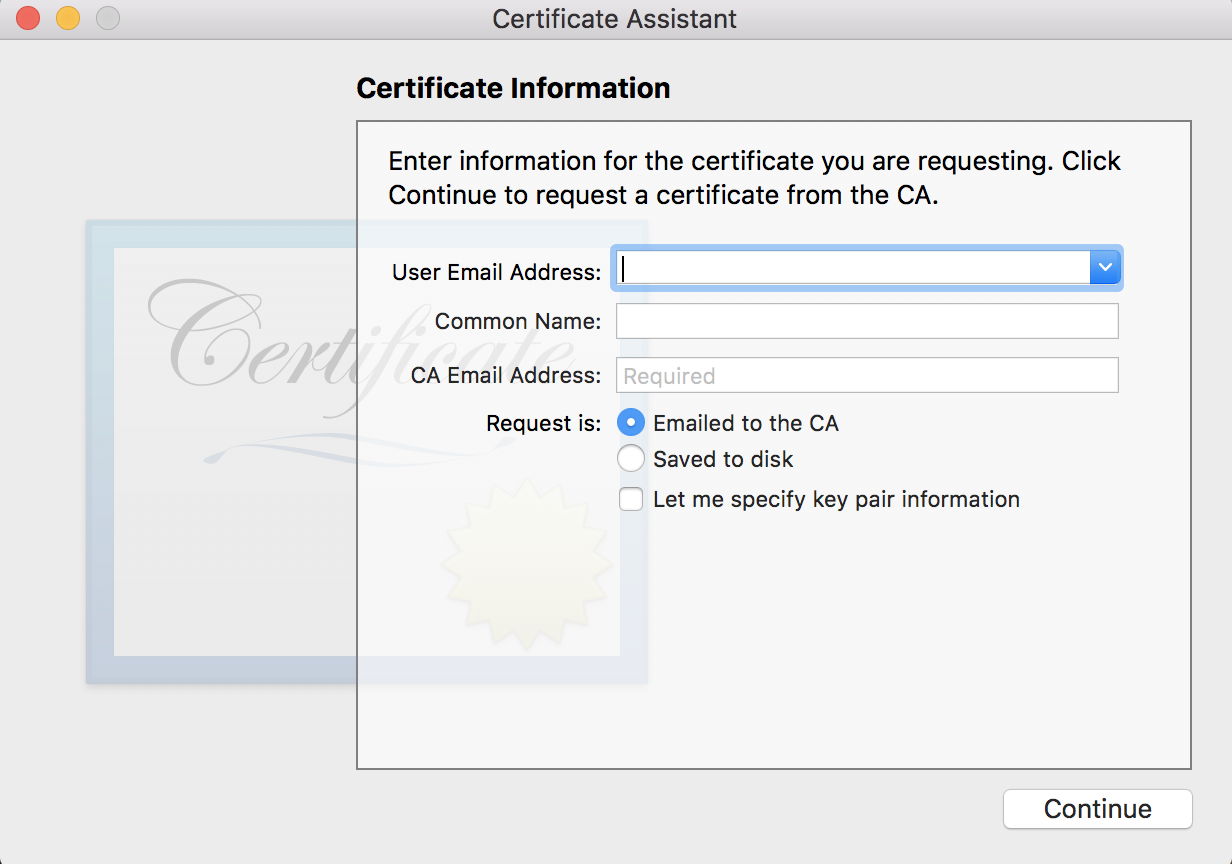
In the Certificate Information window, do the following:
- In the User Email Address field, enter your email address.
- In the Common Name field, create a name for your private key (for example, Smith Kyle APN Key).
- The CA Email Address field must be left empty.
- In the Request is group, select the Saved to disk option.
2. Create a Push Notification SSL Certificate
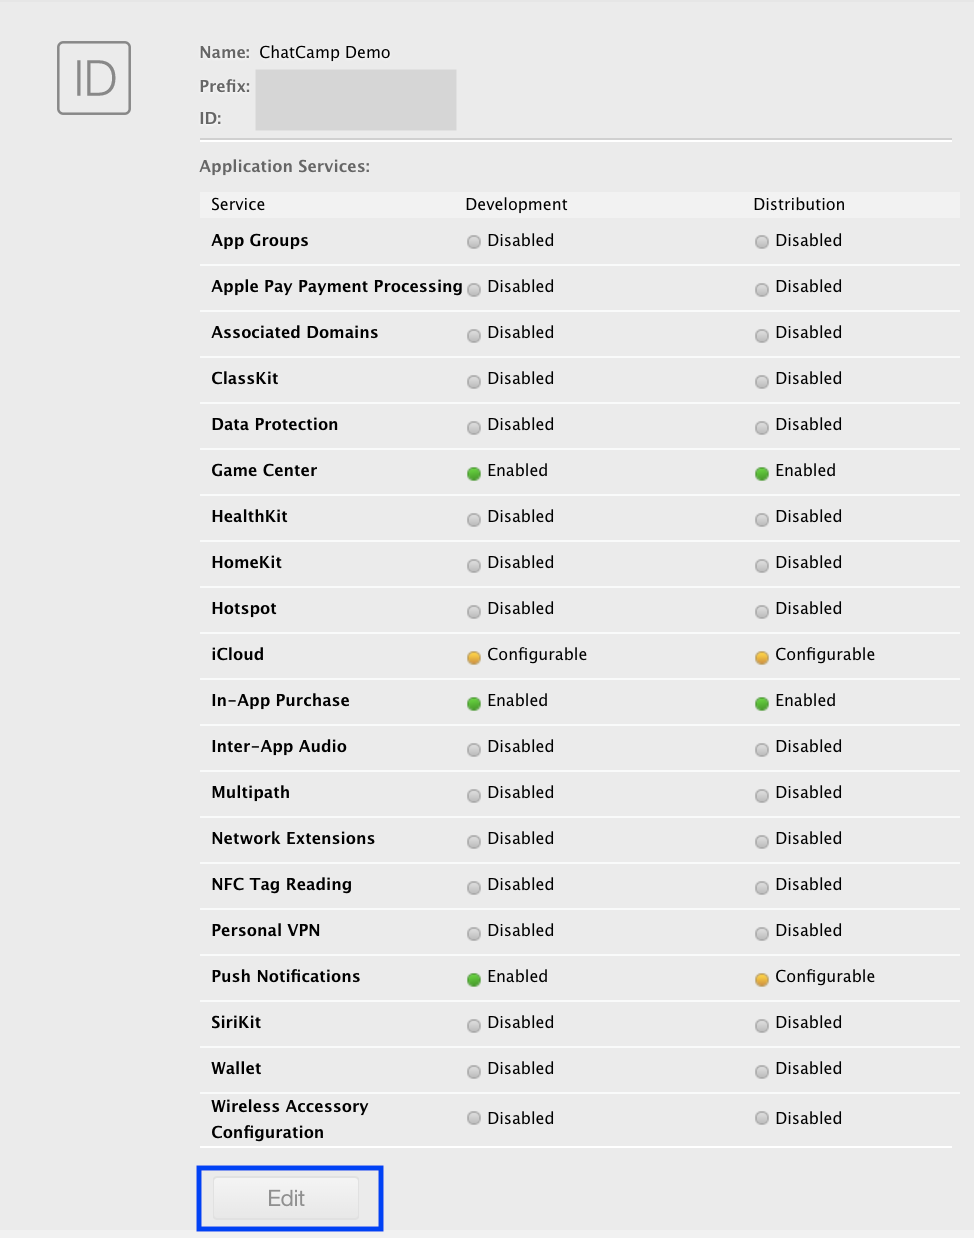
Log in to the Apple Developer Member Center and find the Certificates, Identifiers & Profiles menu. Select App IDs, find your target application, and click the Edit button.
Turn on Push Notifications and create a development or production certificate to fit your purpose.
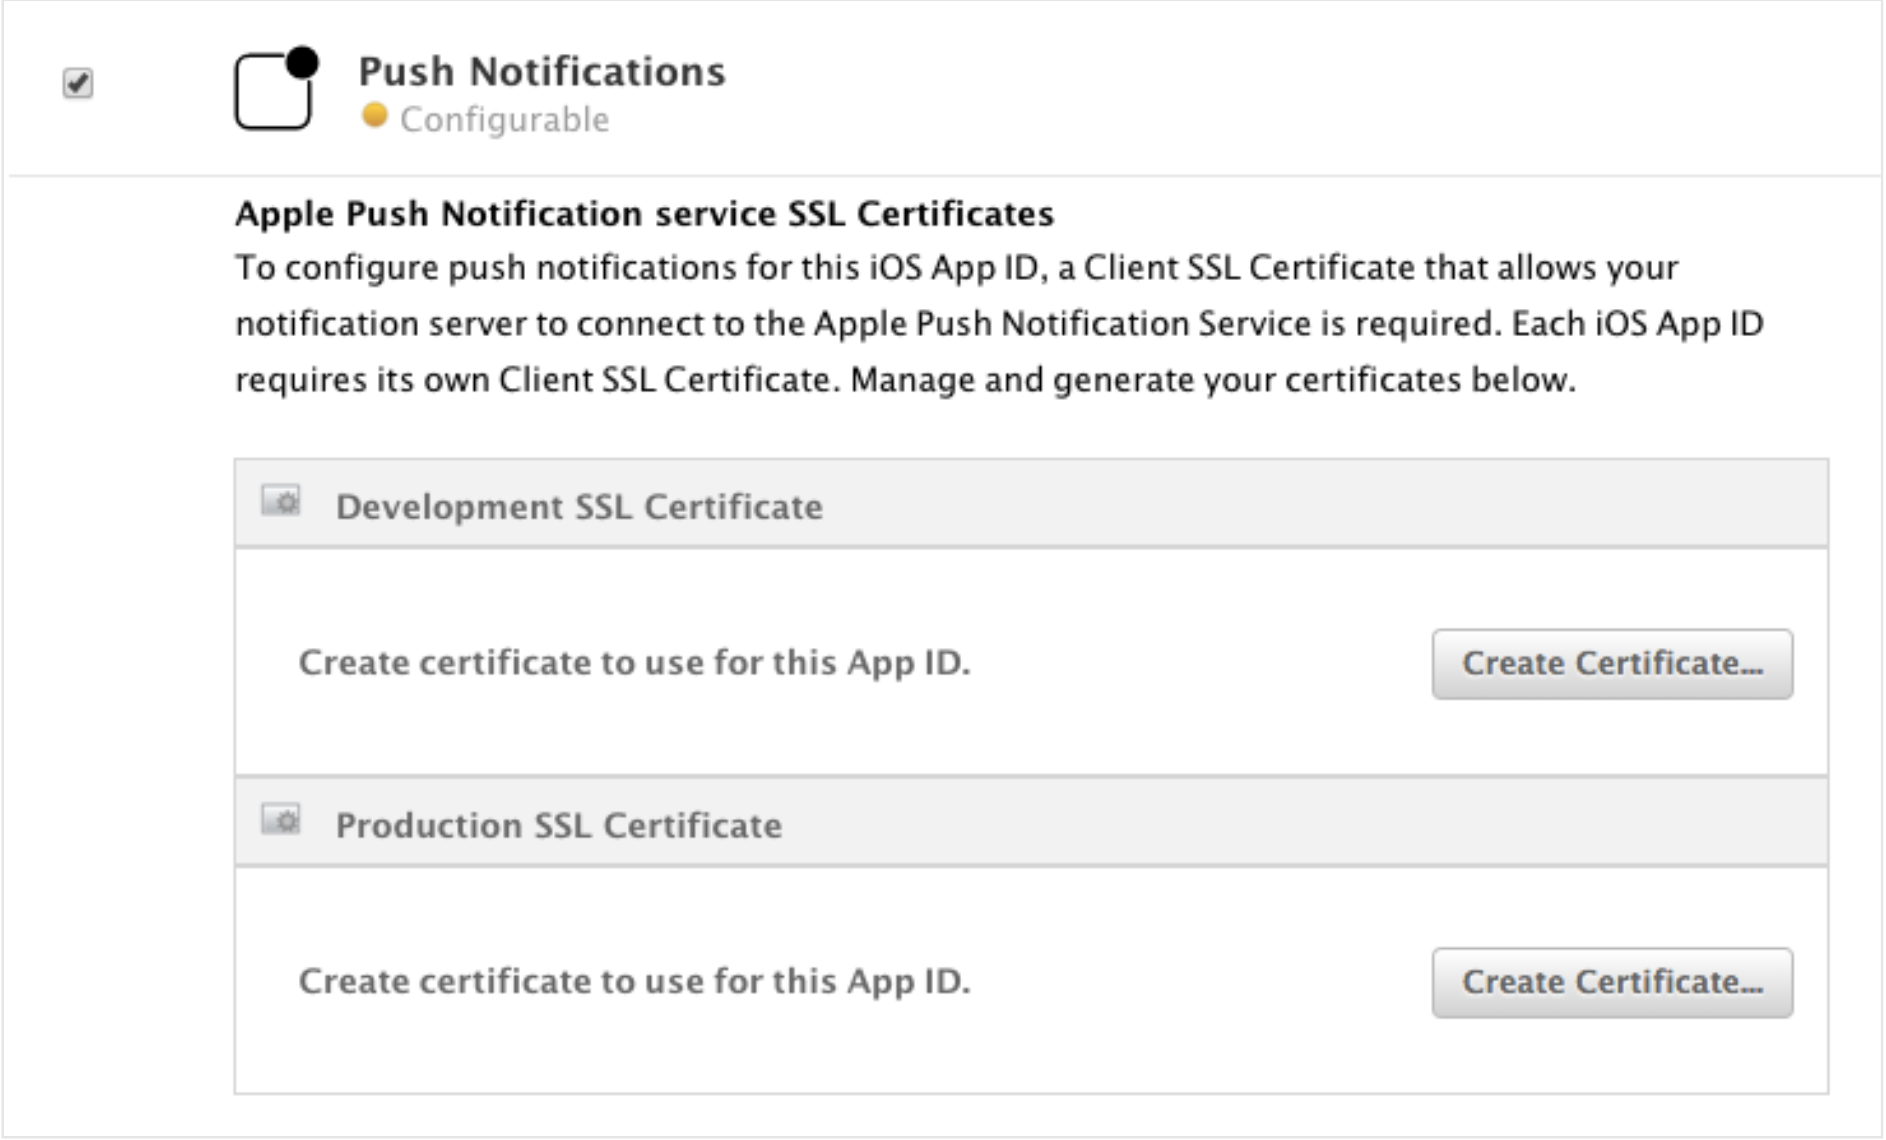
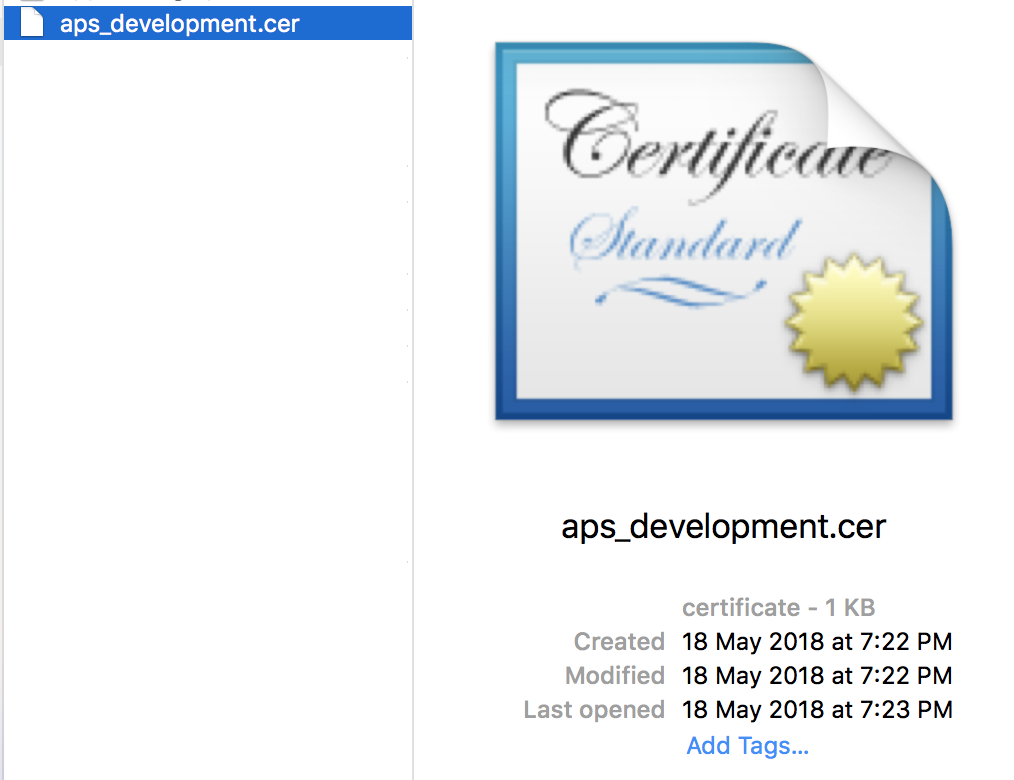
Upload the CSR file that you created in section (1) to complete this process. After doing so, download a SSL certificate.
Double-click the file and register it to your login keychain.
3. Export a p12 file and upload it to ChatCamp Dashboard.
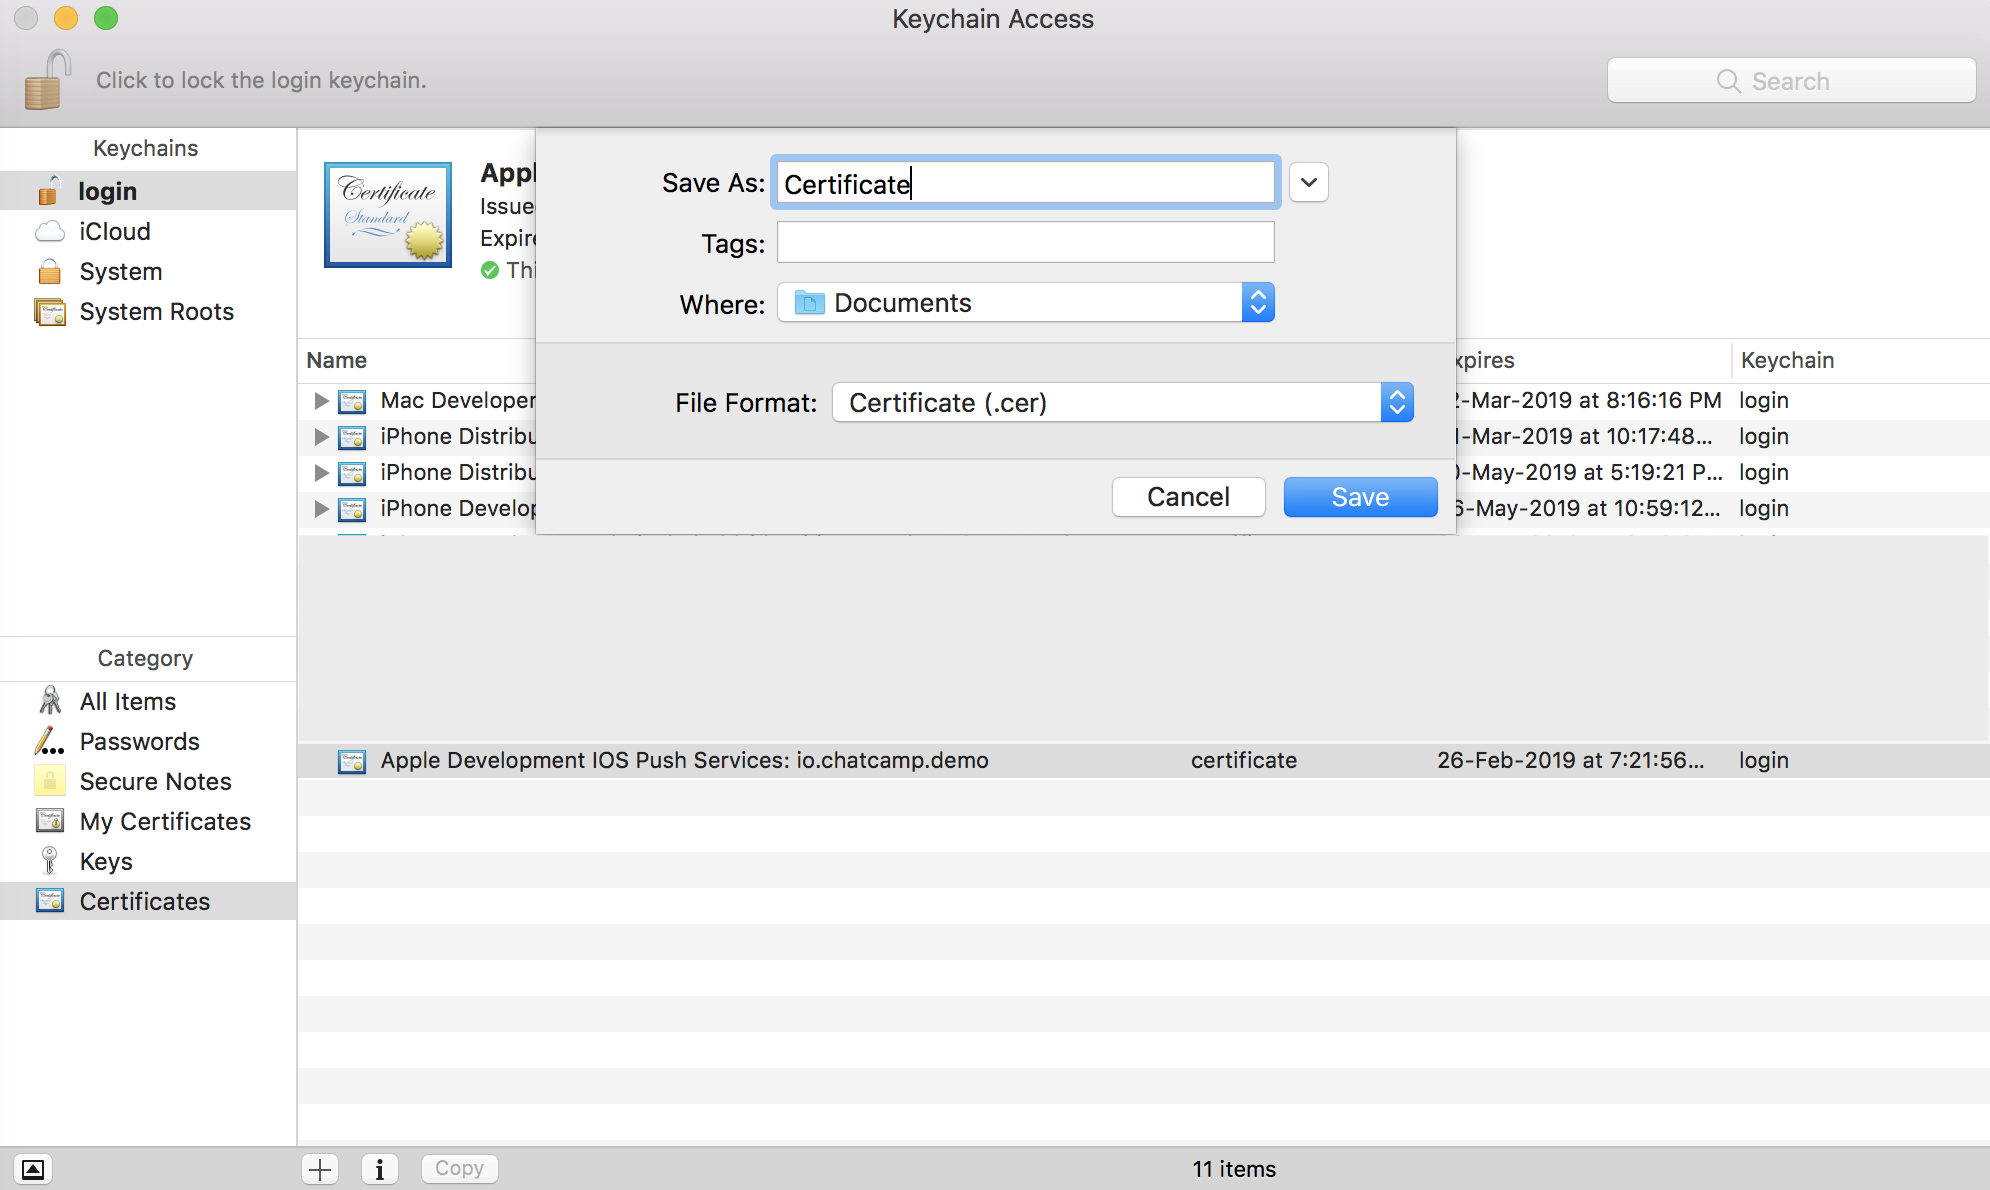
Under Keychain Access, click the Certificates category from the left menu. Find the Push SSL certificate you just registered and right-click it without expanding the certificate. Then select Export to save the file to your disk.
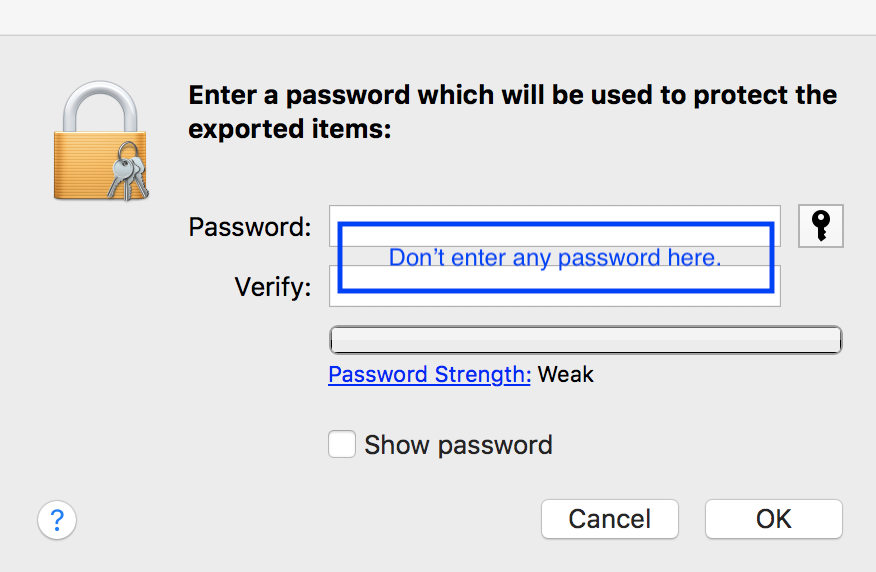
When keychain asks you for a password, just leave it empty.
Note
It is very important that your p12 has no password.
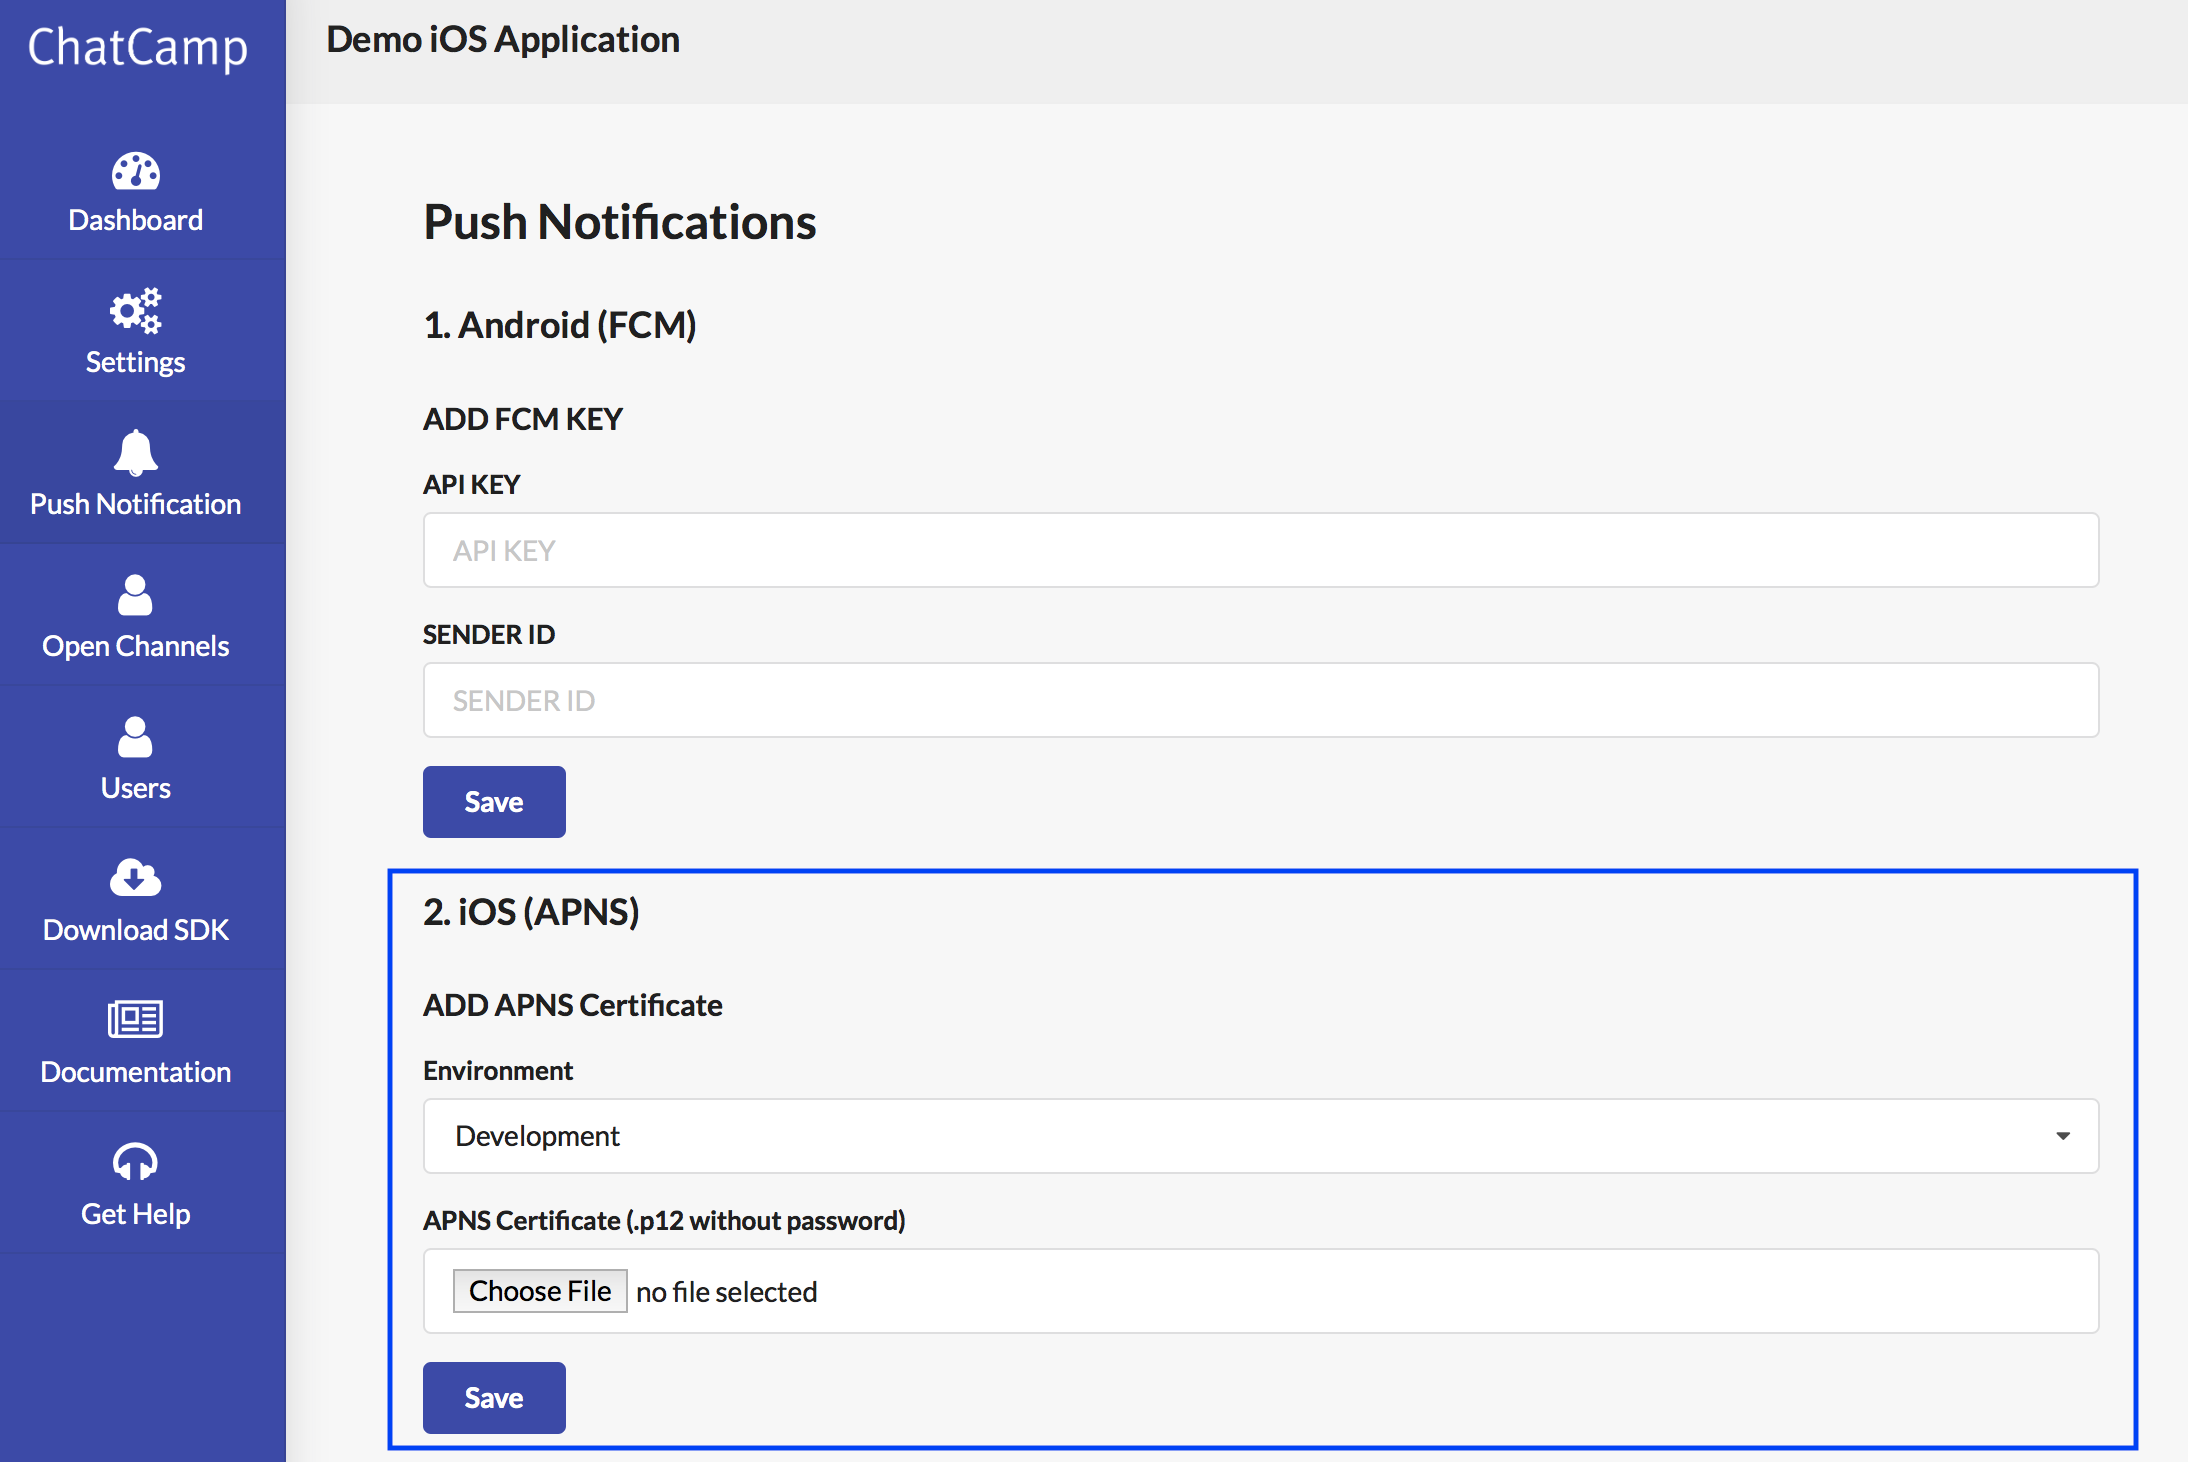
Then, log in to the ChatCamp Dashboard and upload your p12 file to iOS (APNS) section under the Push Notification.
4. Register a device token in ChatCamp iOS SDK.
Call the following code in the appropriate place to receive permissions from your users.
Note
The application:didFinishLaunchingWithOptions: method in your application is typically a good place to ask user permissions.
let notificationSettings = UIUserNotificationSettings(types: [.sound, .alert, .badge], categories: nil)
UIApplication.shared.registerUserNotificationSettings(notificationSettings)

// This is an asynchronous method to retrieve a Device Token
// Callbacks are:
// Success = didRegisterForRemoteNotificationsWithDeviceToken
// Fail = didFailToRegisterForRemoteNotificationsWithError
UIApplication.shared.registerForRemoteNotifications()
ChatCamp APNS push notifications are sent with the following options.
- alert: "{Sender DisplayName}: {Message}"
- sound: default
- badge: total unread message count of each user
In your app's AppDelegate, store your device token in UserDefaults so that it can be used from anywhere in the App depending upon your requirement.
func application(_ application: UIApplication, didRegisterForRemoteNotificationsWithDeviceToken deviceToken: Data) {
    let tokenParts = deviceToken.map { data -> String in
        return String(format: "%02.2hhx", data)
    }

    let token = tokenParts.joined()
    UserDefaults.standard.setDeviceToken(deviceToken: token)
}
Now you have the device token, use it to Register in ChatCamp SDK
Note
Best time to register device token in ChatCamp SDK is just after you authenticate the user using our Connect API.
if let deviceToken = UserDefaults.standard.deviceToken() {
    CCPClient.updateUserPushToken(token: deviceToken) { user, error in
        if error == nil {
            // Device token successfully registered in the backend.
        }
    }
}
You will now start receiving push notifications from ChatCamp.
Updated less than a minute ago
